
Oct 13, 2026
Paper Gift Bags: Handle Patch, Fold and Print Registration Guide
Learn how to specify handle patches, top folds and print registration for custom paper gift bags, with practical sample, MOQ and delivery questions.
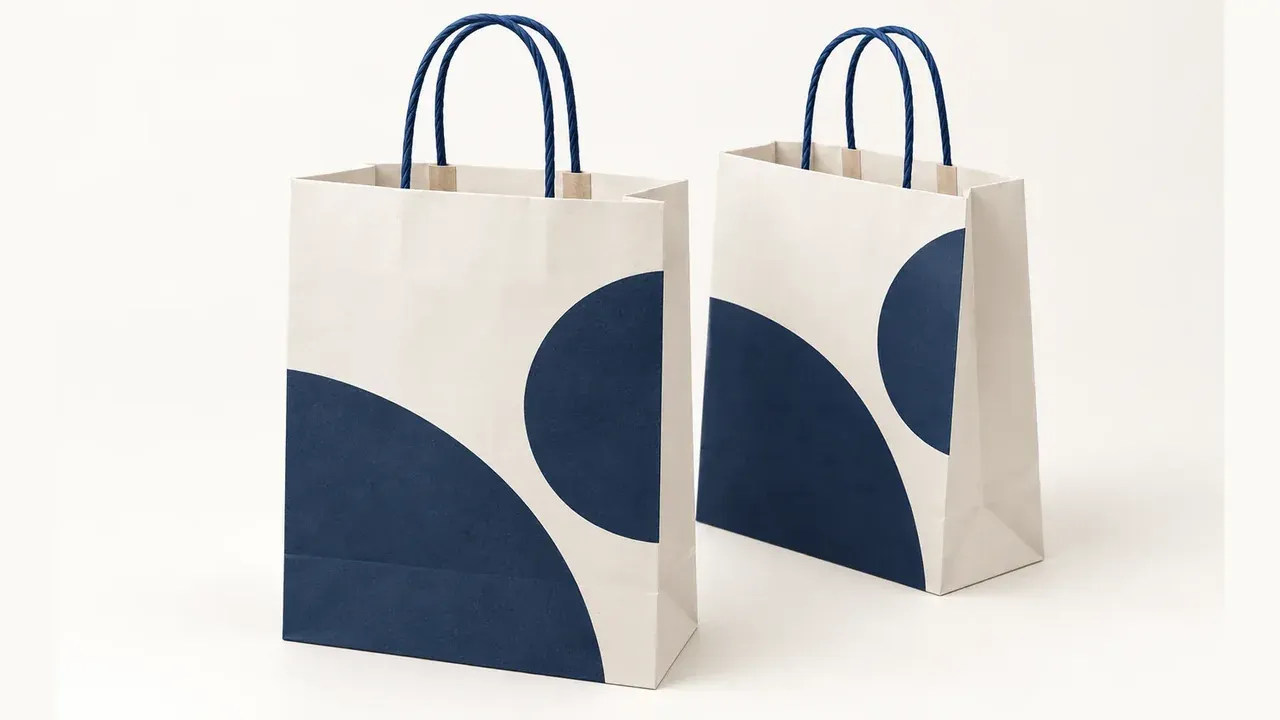
A paper gift bag can look simple in a flat artwork file, yet its quality becomes obvious once it is folded, loaded and carried. Handle patches, reinforced top folds and logo registration all meet at the visible upper section of the bag. For procurement teams, specifying these details early prevents a sample that looks acceptable on a table but shifts, creases or exposes the handle attachment in use.
Start with the filled bag, not the flat dieline
Share the packed product dimensions, expected weight and how the bag will be carried. A bottle, apparel set and cosmetics kit place different force on the top edge even when their bag dimensions are similar. State whether the product needs tissue, an insert card or other loose components, because the final filled shape influences the gusset and handle position.
Ask for the bag's finished width, gusset and height as well as its flat size. The supplier can then confirm the practical top-fold depth and whether the handle patch sits clear of the logo area. A short brief that only says “medium gift bag” leaves too much interpretation for a quotation.
Specify handle material and the hidden reinforcement
Describe the handle material—twisted paper, flat paper, cotton cord, ribbon or die-cut—and the intended color. The attachment is equally important: request the patch material, approximate patch area and placement relative to the top fold. A larger or stronger patch may be appropriate for a heavier product, while an unnecessarily bulky patch can show through a light paper stock.
For a new program, test a filled sample rather than pulling an empty handle once. Lift it repeatedly, check both handle ends and inspect the inside patch after the test. If the bag will travel through retail fulfillment, ask whether the supplier recommends a separate load test or a strengthened construction for the expected handling route.
Plan top folds, creases and exposed edges
The top fold creates a finished retail edge and helps hold the handle attachment, but its depth changes the usable print area. Identify whether the bag uses a folded-over top, a turn-top with board reinforcement or another construction. Ask the supplier to mark the crease and glue areas on the proof so no critical text or fine logo detail falls into a fold.
Specify the acceptable appearance of the top edge: clean fold, even height and no visible adhesive squeeze-out. On dark solid printing or light uncoated paper, minor scuffs and crease variation can be more noticeable. Review the sample under normal store lighting, not only in a factory photo.
Set print registration around folds and gussets
Logo printing should be positioned from the finished bag edges, not from an unconfirmed flat artwork edge. Give a clear front-panel position and a minimum safe distance from the top fold, bottom fold and side gussets. If the design wraps across a gusset or includes a full-bleed color, ask how the supplier will control registration when the bag is converted.
Use vector artwork and identify brand colors by an agreed color reference. For foil, embossing or a small fine-line logo, request a pre-production sample that uses the intended paper and finish. A digital PDF proof can confirm content, but it cannot fully show ink gain, paper texture or the relationship between the print and physical folds.
Connect MOQ and delivery to the approved construction
MOQ depends on paper purchase, handle type, print process and any finishing or tooling. Request pricing at the planned quantity and one practical repeat-order quantity. Separate one-time charges for plates, foil dies, samples or special handle materials from the unit price so future comparisons stay clear.
Build the delivery plan around artwork approval, material confirmation, sample review, production, packing and dispatch. Confirm whether bags ship nested in cartons, the carton count and any maximum carton weight for your warehouse. A bag that is approved as a sample can still arrive with a different handling result if outer-carton protection is not defined.
Quotation checklist
• [ ] Filled product dimensions, total carried weight and intended use.
• [ ] Finished bag width, gusset, height and required flat dieline.
• [ ] Paper grade, GSM, color and any recycled-content or odor requirements.
• [ ] Handle material, color, length, attachment method and reinforcement patch.
• [ ] Top-fold construction, crease areas and acceptable finished-edge appearance.
• [ ] Logo artwork, color reference and safe distances from folds and gussets.
• [ ] Print process, finish and whether a physical pre-production sample is required.
• [ ] Loaded sample test and agreed handle/patch inspection points.
• [ ] MOQ tiers, tooling or sample charges and repeat-order assumptions.
• [ ] Carton packing, production milestones and target dispatch date.
When the bag's carrying load, fold geometry and print-safe areas are specified together, suppliers can quote the right construction and give a more dependable sample and delivery plan.